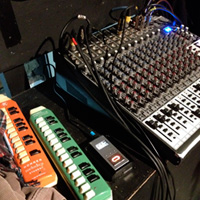
 We thought it would be a good idea to have this handy reference page covering the ins and outs of recording the orchestra at our weekly sessions at the Cube.
When setting up vocal and instrument mics, try to ensure that they don't point towards the monitors or sit right over them. Feedback is our enemy.


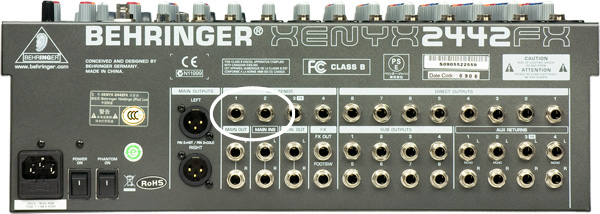
Recording equipment is connected on the rear of the mixer, by inserting 1/4 inch jacks into Aux Sends 1 and 2.
If you're using Ramon's Roland R-09 digital recorder the audio cable plugs into the top-right input, labelled LINE IN (See 20 in photo 1 below). Switch the recorder on by pressing the small POWER button on the left-hand side of the device (See 13 in photo 2 below). A screen lights up on the front.
To start recording, press the central REC button once (See 12 in photo 3 below), the Red light will begin flashing (11) and check the levels first. The settings should be about right, but if you notice it's peaking or is way too low during loud sections, the input volume can be adjusted on the left-hand side (See 14 in photo 2 below). 20 seems to be a good general setting. Next REMEMBER TO press the REC button again (Red light remains on) to actually record. There's an 8Gb card, but be aware that this recorder only records in 2Gb bursts, about two hours, so don't set it going too early! To stop recording, press the stop button (10) under the REC button. Switch it off when finished.


